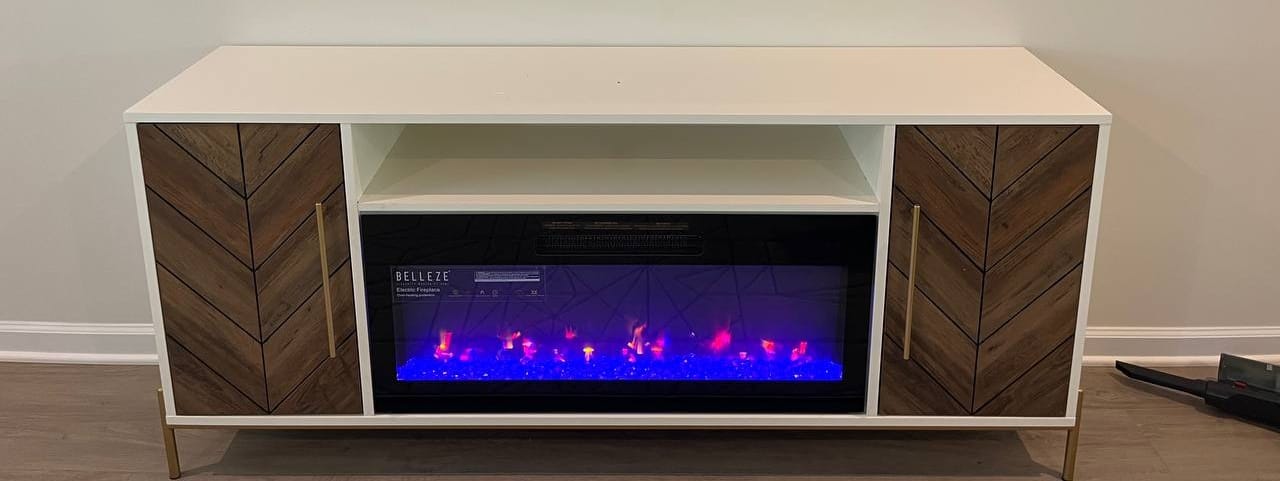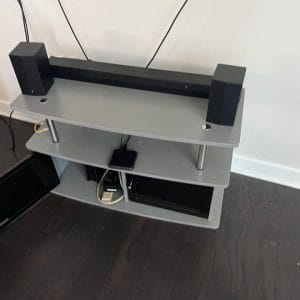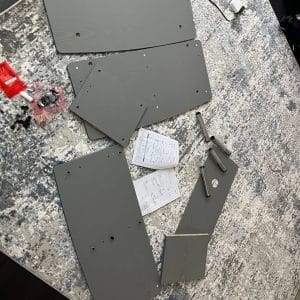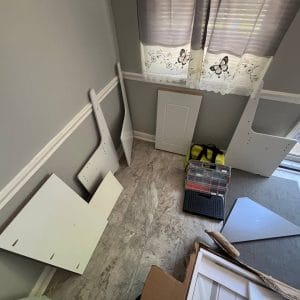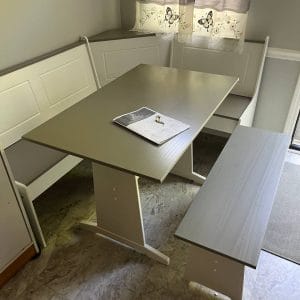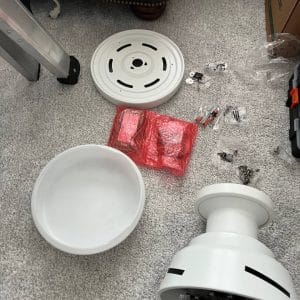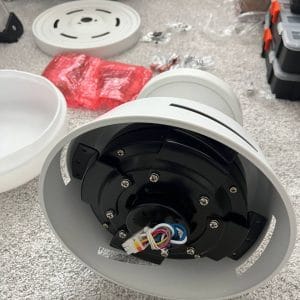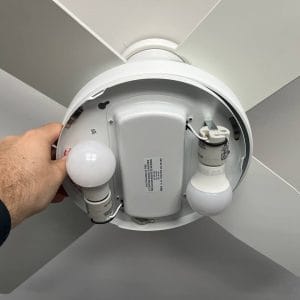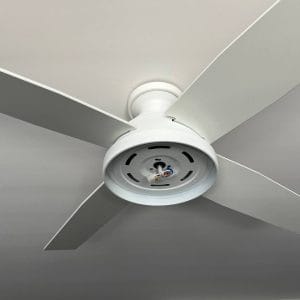

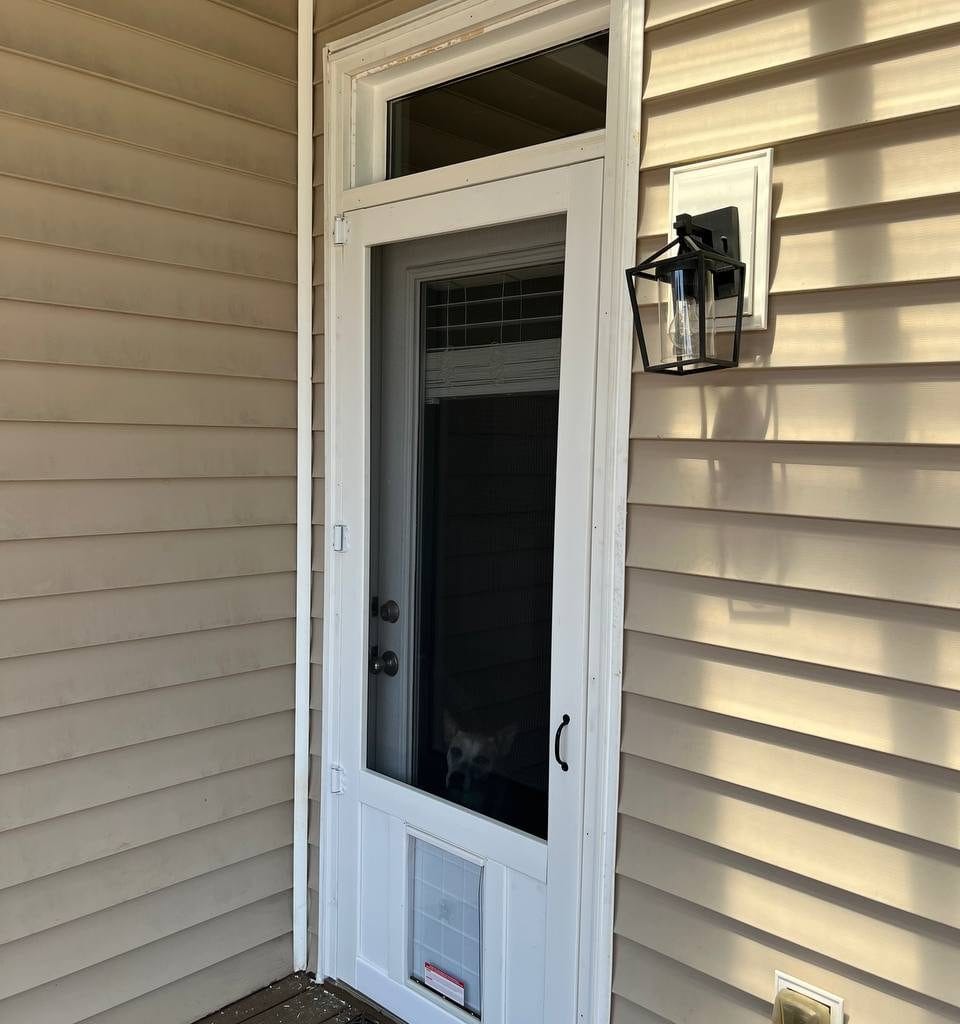
A screen door installation we recently did

Screen Door Installation Challenges: 6 Problematic Fixes That Call for a Handyman

A screen door installation we recently did

Screen Door Installation Challenges: 6 Problematic Fixes That Call for a Handyman

A screen door looks simple — until it isn’t. In a Charlotte home, condo, townhouse, or apartment, a straightforward screen-door job can reveal a tangle of small problems: a frame that’s gone out of plumb, gaps that let drafts in, a sagging mesh, noisy hinges, a latch that misses the strike, or panels bowed by sun and humidity. Those are the kind of fixes that sound easy but end up taking hours when they’re done wrong.

That’s why many homeowners call Busy Beaver Handyman Services. The difference between a temporary patch and a long-lasting repair is knowing what to measure, where to shim, and when to replace parts rather than cover up a symptom. Below is a practical, down-to-earth guide to the six tricker fixes you’ll see with screen doors, how professionals approach them, what DIYers commonly get wrong, and the small maintenance steps that keep trouble away.

Why local pros matter in Charlotte

Charlotte’s summers and storms mean materials swell, seals fail, and UV does its work. A local technician chooses weatherstripping, mesh and fasteners that tolerate our climate. More important: a careful pro avoids the “fix one thing, break another” outcome. They measure, adjust, test, and repeat until the door behaves — instead of guessing and hoping for the best.

Benefits of hiring a local installer

  • Materials and techniques matched to Charlotte’s climate.
  • Precise adjustments (shims, hinge repositioning, selective planing).
  • Written estimates and accountability.
  • The option to bundle related jobs — for example, shower-screen repairs or storm-door upgrades — to save time.

Fix #1 — Door frame misalignment

What you’ll notice: dragging at the bottom, a crooked swing, or a door that won’t latch without force.
Why DIY fixes fail: it’s common to plane away a rub at the bottom and then create a gap at the top, or to shift the latch alignment by a few millimetres. Small errors compound quickly.

How a pro fixes it: an installer checks plumb and level, repositions hinges, adds shims where necessary, and only planes or replaces jamb material if it’s the right solution. Each adjustment is followed by repeated swing testing until the door moves freely and latches reliably.

Real example: a Charlotte townhouse suffered daily scraping. Technicians replaced corroded hinges, re-leveled the jambs and re-shimmed the frame — a roughly 90-minute job that stopped the scraping and eliminated callbacks.

Fix #2 — Poor seal and weatherproofing

How it shows up: drafts, dust trails by the edges, or water intrusion after a storm.
What matters: the seal must compress evenly — not too thin (so it leaks) and not too thick (so it binds).

Professional approach: installers use the appropriate profile of foam or vinyl weatherstripping, cut to fit, and test compression through many open/close cycles. Where needed they add door sweeps or layered stripping, and they adjust trim or thresholds so the seal is continuous without hindering movement.

Why it’s worth doing right: a properly sealed screen door improves comfort, lowers HVAC load, and keeps bugs and dirt out while preserving airflow.

Fix #3 — Torn or sagging mesh

Why mesh fails: pets, storms, UV exposure, and simple wear. Tiny holes invite pests; sagging looks sloppy and can affect latch alignment.
Patch or replace? Small punctures can be patched. But if the mesh is sagging or broadly weakened, a full replacement restores tension, appearance and function.

Installer method: the tech removes the panel, stretches the new mesh evenly into the spline groove, trims it precisely, locks the spline, and then re-assembles. Afterward they re-check the latch and swing — because tension changes can slightly affect alignment.

Mesh options:

  • Fiberglass — flexible, economical.
  • Aluminum — tougher, weather-resistant.
  • Pet-resistant — heavier weave for homes with animals.

Fix #4 — Squeaky, stiff, or noisy hinges

Symptoms: squeaks, sticking at certain points, or a door that binds.
Why lubrication alone won’t fix it: oil can mask the symptom but won’t correct bent hinge plates, worn pins, or a loose mortise.

What a pro does: replace worn hinge pins (stainless where possible), realign plates, reinforce or repair loose mortises, and apply a non-staining lubricant. If hinges are corroded or undersized, full replacement removes play and prevents repeat trouble.

Result: quieter, smoother operation and less stress on adjacent hardware.

Fix #5 — Misaligned latch or locking mechanism

How it behaves: the door only stays closed if you slam it, the latch skims past the strike, or the handle feels loose.
Why DIY drilling can worsen things: misplaced holes or a poorly anchored strike plate can create jams or damage the frame.

Pro steps: reposition the strike plate to solid backing, add shims if needed, and test the latch through many cycles until engagement is consistent and effortless. A properly anchored strike plate increases safety and eliminates rattling.

Fix #6 — Warped or damaged door panels

What causes it: prolonged sun facing, moisture, and seasonal movement in wood or composites.
Repair or replace? Minor warps can sometimes be corrected; recurrent or severe warping usually calls for panel replacement as the more reliable fix.

Replacement process: pros match material and finish, remove the old panel, fit and secure the new panel with shims and sealant, and verify latch and seal performance.
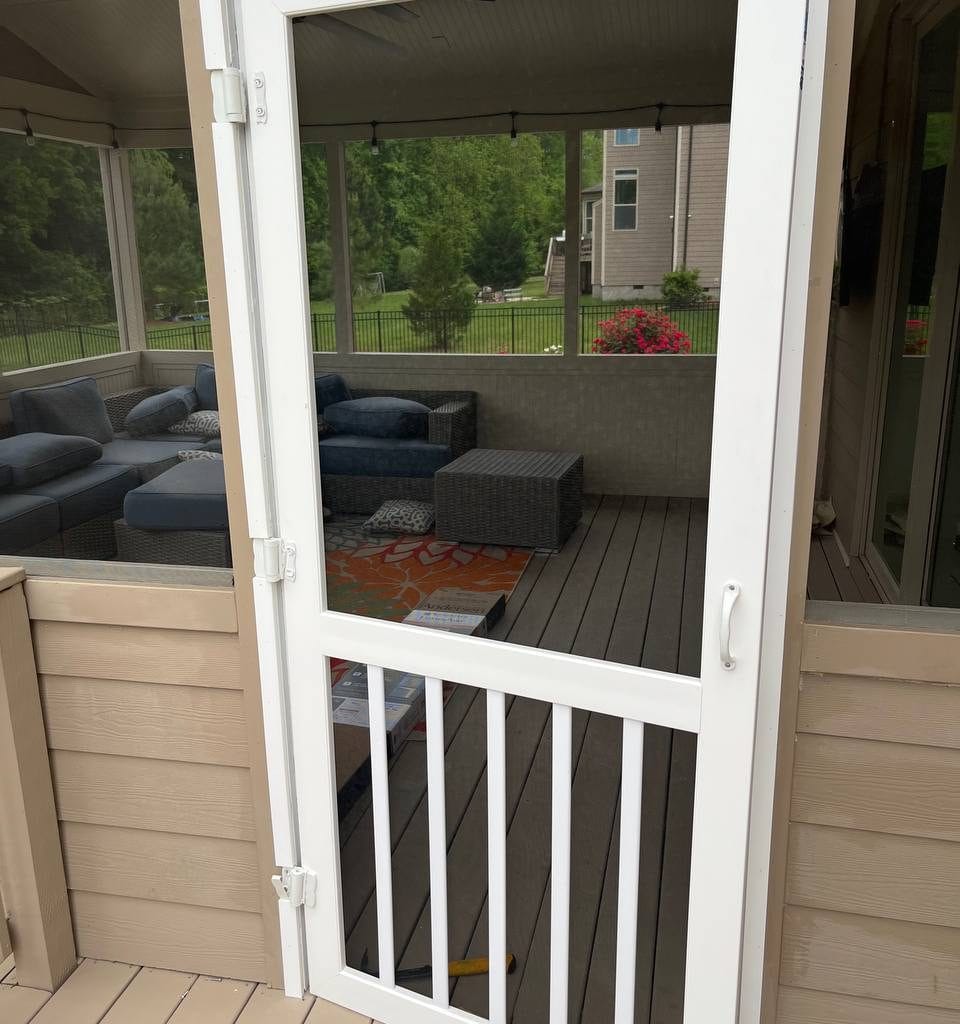


A screen door installation we recently did

Complementary services — bundle and save

Busy Beaver often pairs screen-door projects with:

  • Shower screen repairs (handy in condos and townhouses).
  • Storm-door replacement or upgrades.
  • Interior and exterior door repair and installation.
    Bundling minimizes scheduling hassle and ensures consistent hardware and finishes across your home’s entry points.

Preparing for the visit

Before the tech arrives: measure the opening, note problem spots (scraping, gaps, mesh holes), and clear the work area. On the day they’ll inspect the door, explain the recommended work, do the job (removing old hardware if necessary), and walk you through the results.

Maintenance that prevents big fixes

Routine care keeps doors behaving:

  • Lubricate hinges every six months.
  • Inspect weatherstripping yearly and replace if cracked or compressed.
  • Patch tiny mesh holes quickly; replace sagging mesh.
  • Tighten loose screws and confirm strike plate alignment.
  • Consider a professional annual check for high-use doors.

Case studies — quick reads

Townhouse (frame adjustment): Re-shimming and hinge replacement cured daily scraping — 90 minutes to a smooth swing.
South-facing condo (warped panel): Panel replacement, matched finish and resealed weatherstripping restored a tight seal and dependable operation.

Cost overview (Charlotte)

Service task — Typical cost — Value
Frame adjustment only — $120–$200 — smoother operation and secure latching
Mesh replacement — $150–$300 — improved look and insect protection
Full door replacement — $300–$600+ — long-term durability for heavily damaged doors
Storm door upgrade/replacement — $350–$700 — better insulation and modern features

(Exact pricing depends on door size, materials, and complexity; ask for a written quote.)

Energy and environmental benefits

A correctly installed and sealed screen or storm door reduces HVAC load, keeps insects out, extends the door’s service life, and avoids waste created by repeated DIY quick fixes.

Why homeowners choose Busy Beaver in Charlotte

• Local knowledge of climate and construction methods.
• Transparent, itemized quotes that spell out labor, mesh and hardware.
• Skilled crews who treat your home with care.

Why homeowners choose Busy Beaver in Charlotte

• Local knowledge of climate and construction methods.
• Transparent, itemized quotes that spell out labor, mesh and hardware.
• Skilled crews who treat your home with care.
• Photo galleries and reviews you can check online: facebook.com/BusyBeaverHandymanService. Related articles: Screen Door Installation, Mirror Installation Mistakes, Furniture Assembly Nightmares.

Frequently asked questions

Who installs screen doors in Charlotte? Local professionals such as Busy Beaver Handyman Services handle everything from alignment and mesh replacement to latch adjustment and full replacements.

How much does it cost? The price depends on the work required. Busy Beaver provides a free consultation and a clear estimate before starting.

Can I schedule shower-screen and door work together? Yes — bundling these tasks saves time and often reduces the overall cost.

Do you do storm-door replacement? Yes. Modern storm doors add insulation and can include options like pet doors.

Which mesh is best? Fiberglass for general use, aluminum for durability, and pet-resistant for heavy wear. Your installer will recommend the best fit for exposure and household needs.

How long will the work take? Simple fixes usually take 1–2 hours; full replacements require more time depending on prep and sizing. The installer will provide a time estimate before starting.

Conclusion

Screen-door jobs are deceptively simple. Misaligned frames, poor sealing, torn mesh, noisy hinges, latch troubles and warped panels all require measured fixes and the right materials. A professional installer saves you time, prevents repeated repairs and leaves you with a door that works and looks right. Busy Beaver Handyman Services in Charlotte delivers local expertise, clear pricing and dependable results — the sort of work that actually lasts.


LED Light Installation Pitfalls: 6 Expensive Mistakes DIYers Regret

LED Light Installation Pitfalls: 6 Expensive Mistakes DIYers Regret

LED Light Installation Pitfalls: 6 Expensive Mistakes DIYers Regret

LED Light Installation Pitfalls: 6 Expensive Mistakes DIYers Regret

Thinking about putting in LED lights yourself? At first glance, it sounds easy enough. Buy a few bulbs, maybe follow a YouTube video, and boom—better lighting. But the truth is, LED light installation can trip people up in ways they didn’t expect. We’ve seen it happen here in Charlotte more times than we can count.

Whether you’re updating a house, apartment, or condo, one small slip can mean a blown circuit, damaged drywall, or a light that flickers nonstop. That “simple upgrade” can snowball fast. What looks like a quick project on Saturday morning turns into a return trip to the hardware store, followed by a lot of trial-and-error.

If you’re planning to DIY, do yourself a favor and read this list first. These are six LED lighting mistakes homeowners in Charlotte keep making—and what you can do to steer clear of them.

(Optional image: homeowner frustrated under poor lighting. ALT: “Common LED installation issues in Charlotte homes”)

Mistake #1: Choosing the Wrong LED Bulbs

We get it—LEDs are everywhere now. But that doesn’t mean any bulb will work in any space. Lighting that’s too warm or too cool can totally change the feel of a room. And don’t even get us started on outdoor lights being used indoors (or vice versa).

  • The color temperature feels off—either sterile like a hospital or weirdly yellow
  • The bulb flickers or burns out early because it’s not made for your fixture
  • Outdoor lights fail fast when used inside or aren’t weatherproof enough to go outside

Real-world tip: Think of color temperature in zones:

  • Warm white (2700K–3000K) = bedrooms and living rooms
  • Cool white (3500K–4100K) = kitchens and bathrooms
  • Daylight (5000K–6500K) = garages, home offices, and workshops

Mistake #2: Overloading the Electrical System

LEDs draw less power than old-school bulbs, but they still rely on the system you’ve got in place. Many older homes in Charlotte weren’t wired with today’s lighting setups in mind. Overloading your circuits—or making the wrong connection during an LED light installation—can lead to trouble.

  • Using outdated dimmers that aren’t made for LEDs
  • Putting too many fixtures on the same switch or breaker
  • Mixing voltages without the right transformer or converter

What to do instead: Before you install, check the total wattage on your circuit. If you’re unsure, you’re not alone—most people don’t know how to calculate it. That’s where Busy Beaver Handyman Services can help. We’ll evaluate your setup and make sure you’re not setting yourself up for a bigger repair job down the road.

Mistake #3: Jumping Into Wiring Without a Plan

We’ve walked into plenty of homes where DIY LED light installation projects went sideways. Tangled wires. Switches that don’t do anything. Lights that randomly buzz or flicker. Most of it comes from not having a wiring game plan—or worse, guessing.

  • Hot and neutral wires reversed (reverse polarity = real danger)
  • Loose connections that create sparks or cause lights to cut out
  • Missing ground wires that compromise safety

What works: Sketch your layout. Label your wires. Use connectors rated for the job. If you’re installing multiple lights, know exactly where your junction boxes are and how they connect. Planning saves time and stress.

LED Light Installation Tip: Don’t Ignore Placement

Even if you pick the perfect bulb, it won’t do much good if it’s in the wrong place. We’ve seen kitchens where the counter is in shadow, and living rooms where glare hits you right in the eyes when you sit down.

  • Shadows in work areas like sinks or islands
  • Lights too close to walls, creating harsh bounce-back
  • Uneven lighting in larger, open-concept rooms

What we recommend: Think about how you use your space—not just where the light looks nice on the ceiling. Sketch out your room and place fixtures where you need illumination, not just decoration. Or better yet, let Busy Beaver help with layout planning so you’re not second-guessing after holes are drilled.

Mistake #5: Using the Wrong Dimmer or Switch

Not all switches play nice with LEDs. We’ve had customers spend hours trying to troubleshoot flickering bulbs, only to realize the problem was the dimmer the whole time.

  • Pairing LED bulbs with old rotary dimmers
  • Installing smart lights without checking app/switch compatibility
  • Not labeling switches in three-way setups (and then forgetting which does what)

The easy fix: Buy dimmers that are specifically designed for LED lighting. Reputable brands often list which bulbs their products support. Want to make sure everything’s compatible and future-proof? Let Busy Beaver Handyman Services handle it start to finish.

Mistake #6: Underestimating the True Cost of LED Light Installation

A lot of folks think LED upgrades are cheap—and in theory, they are. But the hidden costs sneak up: new tools, patching drywall, replacing switches you didn’t know were incompatible. And then there’s the time spent trying to get it all right.

  • Buying tools they didn’t realize they’d need (wire strippers, testers, special screwdrivers)
  • Patching holes made during installation
  • Replacing transformer boxes or incompatible controls

Bottom line: It’s not always “plug and play.” Doing the job right sometimes means paying for expert help. And honestly, that usually ends up being cheaper than calling someone in after things go wrong.

Why It Pays to Bring in a Pro

Sure, DIY feels satisfying—when it goes right. But LED light installation is one of those things that’s easy to mess up and hard to fix after the fact. That’s why more homeowners across Charlotte are calling us in before the problems start.

Here’s what you get when you work with Busy Beaver Handyman Services:

  • Safe, up-to-code wiring
  • Clean, damage-free installations
  • A lighting setup that looks good and actually makes sense
  • Help choosing the right bulbs, fixtures, and controls

We’ve helped hundreds of Charlotte homeowners upgrade to LED with zero stress. Message us on Facebook or grab a free quote anytime.

FAQ: LED Lighting & Installation Tips from Charlotte Pros

What’s the most common LED installation mistake you see?
Using the wrong dimmer or mixing up wiring. Those two alone cause 80% of the flickering issues we fix.

Why do my new LED lights flicker?
You might have loose wiring, or the dimmer might not be compatible. Either way, it’s fixable.

Can I install LED lights myself?
You can, but know your limits. If you’re not comfortable with wiring or unsure about what parts to buy, it’s safer to call a pro.

What’s the typical cost to upgrade to LED?
That depends on how many lights you’re adding and the condition of your current setup. DIY might look cheaper—but once you add in tool costs and patchwork, it can end up costing more.

Can a handyman install LEDs?
Absolutely. And in most cases, it’s faster, safer, and less expensive than a full electrician visit.

Final Word: Don’t Let a “Simple Upgrade” Turn Into a Weeklong Mess

Upgrading to LED lighting should feel like a win—not a hassle. But without the right bulbs, tools, or wiring know-how, even a basic LED light installation can go sideways fast. Take the guesswork out of your upgrade and let us help you do it right the first time.

Reach out to Busy Beaver Handyman Services or message us on Facebook. We’ll get your lighting done right—the first time.

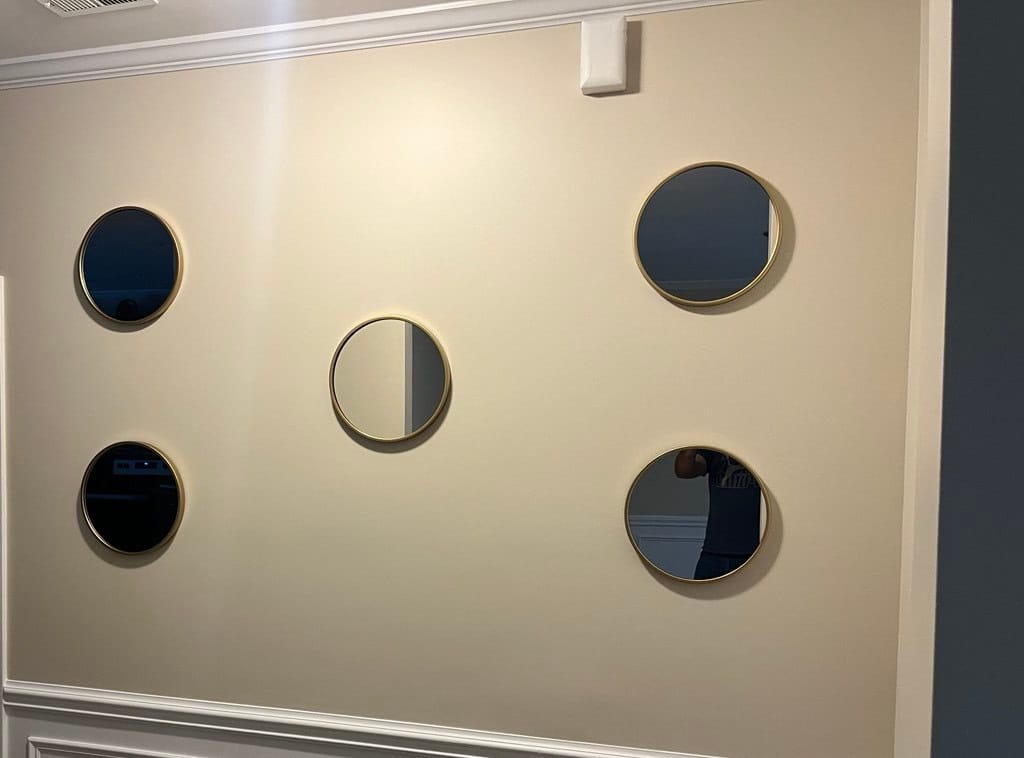
Mirror Installation Mistakes: 5 Costly Errors You’ll Want to Avoid

Mirror Installation Mistakes: 5 Costly Errors You’ll Want to Avoid

Mirror Installation Mistakes: 5 Costly Errors You’ll Want to Avoid

Mirror Installation Mistakes: 5 Costly Errors You’ll Want to Avoid

Hanging a Mirror? It’s Trickier Than You’d Think

You’d be surprised how many people assume hanging a mirror is just a matter of drilling a couple holes and calling it a day. Happens all the time. But the truth is, it’s one of those jobs that looks simple until you’re halfway through and wondering why the thing still isn’t straight—or why the adhesive isn’t holding.

A mirror isn’t just a reflective surface. It’s part of the room. It catches light, opens up tight spaces, and can either elevate your décor or throw it off completely. And when it’s not installed properly? You’ll notice. Every single day.

We’ve worked with folks all over Charlotte—homeowners, renters, property managers—who’ve tried to DIY their mirror installs. Some get lucky. Most end up frustrated. So if you’re thinking about tackling it yourself, here are five mistakes you’ll want to avoid.


1. Guessing the Measurements

This one’s easy to fall into. You hold the mirror up, eyeball the spot, maybe mark a couple dots with a pencil, and hope for the best. But mirrors aren’t forgiving. Even a half-inch off can make the whole thing look crooked, especially if it’s near a vanity or centered on a wall.

What actually works:

  • Use a tape measure. Not your phone. Not your hand.
  • Painter’s tape helps you visualize the placement before committing.
  • A level—yes, even for small mirrors—makes a big difference.

If you’re mounting above furniture, measure from the top of that piece, not just the floor. It’ll look more intentional.

2. Using Whatever Adhesive or Screws You’ve Got Lying Around

We’ve seen mirrors mounted with wood glue, double-sided tape, and even Velcro. Not kidding. And while some of those might hold for a few days, they’re not built for the long haul—especially in humid rooms like bathrooms.

Better options:

  • Mirror mastic (adhesive) works great for frameless mirrors on smooth walls.
  • Mounting brackets are ideal for heavier or framed mirrors.
  • Wall anchors and clips give extra support when studs aren’t available.

Always check the weight rating. If the packaging doesn’t say, don’t use it.

3. Ignoring What’s Behind the Wall

Drywall’s one thing. Brick, tile, plaster—those are a whole different ballgame. And if you’re not using the right fasteners for the wall type, you’re asking for trouble. We’ve seen anchors pull out, tiles crack, and plaster crumble just because someone used the wrong drill bit.

Before you start:

  • Use a stud finder. It’s worth the $20.
  • For tile or brick, grab masonry anchors and the right bit.
  • For older homes with plaster, go slow and use anchors made for brittle surfaces.

Knowing what you’re drilling into changes everything.

4. Trying to Do It Alone

We get it. You’re handy. You’ve hung shelves, mounted TVs, maybe even built a deck. But mirrors—especially big ones—are awkward. They’re heavy, fragile, and hard to hold steady while you’re lining things up.

Our advice:

  • Grab a second set of hands. Doesn’t have to be a pro—just someone who can help hold and level.
  • Wear gloves. Not just for grip, but to avoid fingerprints and smudges.
  • If it’s a large mirror, consider hiring someone. One slip and you’re dealing with broken glass and wall damage.

Even pros don’t do big installs solo.

5. Putting It in the Wrong Spot

You can hang a mirror perfectly—and still have it look off if the placement isn’t right. We’ve seen mirrors that reflect cluttered corners, blank walls, or even the toilet. Not ideal.

Think about:

  • What the mirror will reflect. Natural light? Art? Open space? That’s what you want.
  • Height. A good rule is about 60 inches from the floor to the center of the mirror.
  • Furniture. If it’s going above a console or vanity, measure from that—not the floor.

Placement is about more than aesthetics. It affects how the room feels.

Doing It Yourself: What You’ll Need

Tools:

  • Tape measure
  • Stud finder
  • Painter’s tape
  • Level
  • Drill with the right bits
  • Mirror adhesive or brackets
  • Anchors and clips
  • Gloves

Steps:

  1. Tape out the mirror’s position.
  2. Find your studs and mark anchor points.
  3. Use the level to check alignment.
  4. Drill pilot holes.
  5. Apply adhesive or attach brackets.
  6. Lift and position the mirror.
  7. Check alignment again. Clean the surface.

A Few Extra Tips

Bathrooms:
Use moisture-resistant adhesive. Seal the edges if possible to prevent fogging and water damage.

Large Mirrors:
Don’t mess around. Use high-strength anchors or clips. And get help.

Frameless Mirrors:

  • Laser level helps a ton.
  • Apply adhesive in vertical lines—not blobs.
  • Let it cure for at least 24–48 hours.
  • If the wall isn’t flat, go with brackets.

Why Charlotte Pros Make It Easier

We’ve worked in homes all over the city—from historic bungalows in Plaza Midwood to new builds in Ballantyne. Every wall’s different. Every layout has its quirks. And when you’ve done this enough times, you start to see the patterns.

What you get with Busy Beaver Handyman Services:

  • Clean installs with no guesswork
  • Hardware that actually holds
  • Advice on placement that fits your space
  • A job done right the first time

Whether it’s a small bathroom mirror or a full-wall statement piece, we’ve got you covered.

📞 Need help?
Visit busybeaver.site or find us on Facebook

Quick Fixes for Common Mistakes

MistakeWhat Goes WrongWhat to Do Instead
Measuring without a levelMirror ends up crookedUse tape and a level before drilling
Wrong fastenersMirror falls or cracksUse hardware rated for your wall type
Ignoring wall surfaceAnchors pull out or tiles crackMatch fasteners to drywall, brick, or tile
Working soloMisalignment or broken glassAlways have help for large mirrors
Poor placementMirror reflects clutter or blank wallPosition near windows or focal points

FAQs

Can I hang a mirror on drywall?
Yes, but use heavy-duty anchors or find a stud. Adhesive works for frameless mirrors if applied properly.

Is adhesive better than brackets?
Depends. Adhesive looks cleaner but isn’t removable. Brackets offer more support and flexibility.

Should I hang a big mirror by myself?
Nope. One slip and you’re dealing with broken glass and wall damage. Always get help.

How much does it cost to hire someone in Charlotte?
Usually between $80 and $300 depending on size, wall type, and complexity.

What’s the most common mistake?
Rushing. People skip measurements, use the wrong tools, or ignore the wall type—and end up redoing the whole thing.

Final Thought

A mirror can make a room feel bigger, brighter, and more put together—but only if it’s hung right. Take your time. Measure carefully. Use the right tools. And if you’re not sure, call someone who’s done it before.

Busy Beaver Handyman Services has helped hundreds of Charlotte residents get their mirrors up safely and securely. We’d be happy to help you too.

Let me know if you want this adapted for a blog, service page, or print piece. I can also add client quotes or neighborhood-specific touches to make it feel even more local and lived-in.

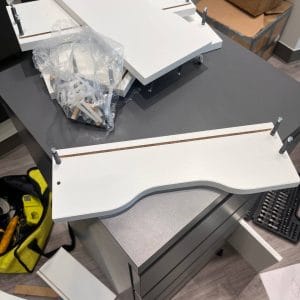
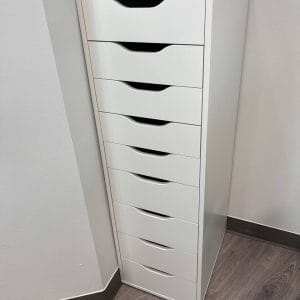
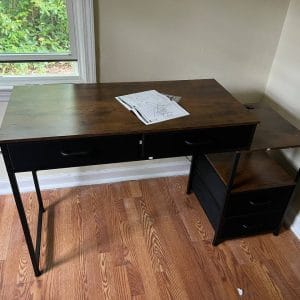
Furniture assembly, handyman assembly, ikea furniture assembly company, furniture assembly projects, cabinet repair near me, IKEA assembly help, confusing furniture instructions

Furniture Assembly Nightmares: 5 Popular Items That Are Harder Than They Look

Furniture assembly, handyman assembly, ikea furniture assembly company, furniture assembly projects, cabinet repair near me, IKEA assembly help, confusing furniture instructions

Furniture Assembly Nightmares: 5 Popular Items That Are Trickier Than You Think

Dealing with a mountain of flat‑packed boxes and minute screws can make your weekend into a war zone. That’s where Furniture Assembly nightmares tend to start—no matter if it’s assembling an IKEA wardrobe or a sophisticated entertainment center. If you’re located in Charlotte, North Carolina, and hate to miss the aggravation, Busy Beaver Handyman Services is available to save you wasted time and hassle.

Why Furniture Assembly Often Turns Into a Nightmare

You open the box confidently—but then the confusion sets in. Suddenly, you’re staring at dozens of unlabeled parts and unclear diagrams. Before you know it, what seemed easy becomes overwhelmingly complex. That’s why many homeowners end up calling in a pro halfway through.

Deceptive Packaging & “Easy” Labels

Terms such as “easy-to-assemble” are supposed to set your mind at ease. The truth is that there is frequently no actual guidance written down—only photos you’re to infer. What happens? Time wasted, frustration earned.

What You Might Not Have on Hand

Often, your standard toolbox doesn’t cover everything you need. Some projects demand rare hex keys, clamps, torque settings, or even power tools. At Busy Beaver, we bring the full kit directly to your home in Charlotte—so you’re never scrambling for the right gear.

Bewildering Furniture Directions

Ever get the feeling the instruction steps didn’t apply, or the diagram was too ambiguous to understand? You are not alone. Many manuals omit information or assume knowledge that only seasoned builders might have. It’s simple to miss a step—or build it incorrectly—before you know it.

5 Common Furniture Assembly Projects That Cause the Most Frustration

  1. IKEA Wardrobes with Sliding Doors – These pieces can look polished—but aligning rails and heavy panels is a precise job. Slide incorrectly, and you’ll have doors that jam or hang.
  2. Modular Entertainment Units – They advertise flexibility but the complexity is achieved at the expense of dozens of interlocking components.
  3. Murphy Beds & Fold-Out Desks – These nifty space-savers need precise measurement and exact brackets.
  4. Expandable Leaf Dining Sets – The extra leaves are convenient—but they introduce points of tension and moving parts.
  5. Large Outdoor Furniture Sets – Heavy and hard to align, especially in warm weather or on uneven surfaces.

Actual Risks of Poor DIY Furniture Assembly

Structural Instability and Safety Issues

Furniture that is not built up snugly will wobble or topple over. That’s not merely bothersome—it’s unsafe, particularly around children or pets.

Damage to Your Home & Wasted Time

Things get out of whack without proper technique: gaping drywall when wall mounting, stripped pieces, missing screws.

Home Aesthetics Take a Hit

Even the best furniture is awry when it is crooked or lopsided. You paid good money—don’t let poor assembly spoil the effect.

What Makes a Local Handyman Assembly Service Special

Why Busy Beaver Handyman Services?

  • Friendly, dependable professionals based in Charlotte
  • We carry all specialty tools and know how to use them
  • Fully insured service—no surprises, just results

Expertise with IKEA Assembly Assistance

We assembled countless IKEA structures and know where the problematic steps normally fail.

Save Time and Weekend Stress

We’ll get the job done right so you can enjoy your furniture—and possibly relax this weekend.

Cabinet Repair Near Me: Why It Is Important During Assembly

Typical Cabinet Problems Due to DIY Assembly

We’ve encountered stripped hinge holes, uneven doors, and damaged wood from over-tightening.

How We Sidestep Costly Mistakes

Our staff catches tiny mistakes early and fixes as we go, guaranteeing smooth and lasting results.

Furniture assembly transformation by Busy Beaver Handyman Services in Charlotte, NC

Real-Life Fixes: Before & After Furniture Assembly Stories

We fix everything from partially completed desks to bookcases constructed crookedly. If we get called back by Charlotte-area customers mid-job—or later—everything gets back on course with professionalism and attention to detail.

Don’t Let Assembly Spoil Your Investment

Quality furniture is worth the right installation. If you’re dealing with loose screws, wobbly drawers, or slanted shelves—get Busy Beaver Handyman Services to make your pieces solid and professional.

How to Book Furniture Assembly Services with Busy Beaver

Simple Booking Process

Visit our website www.busybeaver.site or message us on our Facebook page to obtain a quote.

Clear, Transparent Prices

We will ask a few details and provide a straight quote—no hidden fees.

What Happens on Service Day

A technician arrives with tools and knowledge. We assemble, clean up, and confirm everything is perfect before we leave.

Customer Reviews from the Charlotte Area

“They rescued my IKEA project that I thought was ruined. Quick turnaround and everything works perfectly now!” – Kathy M., Charlotte
“Especially appreciated the professionalism. Saved me hours and stress.” – Jordan T., South End

Common Commendation: Reliable, Efficient, Peace of Mind

FAQ: Furniture Assembly Services in Charlotte, NC

Do you handle all kinds of furniture assembly projects?

Indeed! From IKEA bedroom sets to outdoor patios, desks, cabinets, and beyond—we’re ready for it.

How long does IKEA furniture assembly usually take?

Typically 1–3 hours, depending on complexity. We’ll estimate before we begin.

What if I lost the instruction guide?

No worries. We often build from experience or look up manuals online.

Can you repair furniture or cabinets if they’re damaged?

Yes. We handle “cabinet repair near me” and minor damage repair during assembly.

Do you provide same-day or weekend services in Charlotte?

Absolutely. We often accommodate weekend or same-day bookings—contact us early!

Conclusion

Building furniture does not have to be a maddening puzzle. With Busy Beaver Handyman Services, you will have expert assembly accomplished accurately, in Charlotte, NC—not tomorrow, but on the date of your choice.

Contact us: www.busybeaver.site or message us on Facebook.


Assembling Furniture in Charlotte | Handyman Assembly

Handyman Assembly Furniture in Charlotte, NC – Let Busy Beaver Take Care of It

Let’s be real — putting furniture together isn’t always as simple as the picture on the box makes it seem. You start off motivated, maybe even a little excited… and then suddenly you’re knee-deep in wooden pieces, mystery screws, and an instruction manual that somehow makes things more confusing than helpful.

That’s where we come in. At Busy Beaver, we help folks all over Charlotte, NC with furniture assembly, so you don’t have to spend your weekend trying to figure out what goes where. Whether it’s a brand-new bed frame, a complicated desk, or an entire room full of furniture, we’ll get it done properly — and without the stress.

We’ve Got the Tools — and the Know-How

One of the biggest headaches with furniture assembly? Not having the right tools. Most people don’t have hex wrenches, rubber mallets, or the time to deal with missing screws. Our handyman assembly team shows up with everything needed to get the job done efficiently and correctly. You don’t have to worry about tracking down a tool or figuring out which piece fits where — we’ve done this a hundred times before, and we know the drill (literally).

IKEA Furniture? No Problem.

If you’ve ever tried putting together IKEA furniture, you know it’s not for the faint of heart. There’s something about those little picture-only instructions that makes the process… well, let’s say interesting. We’ve put together hundreds of IKEA pieces around Charlotte — from Pax wardrobes to Kallax shelves — and we know all the common pitfalls (and how to avoid them).

If you need someone to assemble IKEA furniture in Charlotte, we’re your go-to team. We’ll take care of everything so you don’t end up with extra parts or wobbly legs.

Why Locals Call Busy Beaver

  • We show up when we say we will — no waiting around all day
  • We’re polite, clean, and treat your home like it’s our own
  • We bring all the tools, and we tidy up when we’re done
  • We offer affordable furniture assembly in Charlotte — no hidden fees or surprises
  • We actually care about doing the job right, not just getting it done fast

Whether it’s one piece or a full home setup, our professional handyman services are all about making your life easier. We pay attention to the little things, because we know they matter.

What’s the Cost?

A lot of people ask: “How much does Ace Handyman Services cost?” And while we can’t speak for them, what we can promise is this — at Busy Beaver, we keep our pricing fair and straightforward. You’ll get a clear quote before we start, and that’s what you’ll pay. No upsells. No gimmicks.

And when you compare the cost to the time and frustration you save, hiring a pro just makes sense — especially if you want it done right the first time. So if you’re searching for handyman Charlotte NC or someone to assemble your furniture without breaking the bank, we’re ready to help.

Let’s Make It Easy

Life’s too short to spend hours flipping through confusing instruction manuals. If you’ve got a pile of flat-pack boxes and not enough time (or patience) to put them together, give us a shout.

At Busy Beaver, we’re proud to offer fast, honest, and affordable furniture assembly in Charlotte. We’re just a call or message away — and we’ll make sure that “some assembly required” doesn’t turn into “some sanity lost.”

We’ve worked with homeowners, renters, realtors, and even small business owners who just needed an extra hand getting things set up. No project is too big or too small — whether you’re furnishing a cozy apartment or preparing a short-term rental, we’re here to help. If you’re on the lookout for someone to assemble furniture in Charlotte affordably, you can count on Busy Beaver for dependable service every time.

📞 Ready to get started? Contact us today and let Busy Beaver take care of the rest.

Outdoor video surveillance, Security, Google Floodlight, Floodlight, Google Nest, Handyman Charlotte NC, Handyman in my area, Handyman Charlotte, Handyman rental, Handyman services, Charlotte handyman, Electrical repair Charlotte

Installing Google Floodlight Camera | Handyman Services

Installing Google Floodlight Camera the Right Way Really Matters

When it comes to keeping your home safe, more and more folks are turning to smart security solutions like the Google Nest Floodlight Camera. It’s sleek, effective, and a solid investment for outdoor surveillance. But just like any high-tech tool, proper installation makes all the difference — not only for performance, but also for long-term security and peace of mind.

At Busy Beaver Handyman Services, we’ve seen a lot of DIY installs gone sideways. And while we love when homeowners take initiative, we also know that something as important as a security camera should be done right the first time.

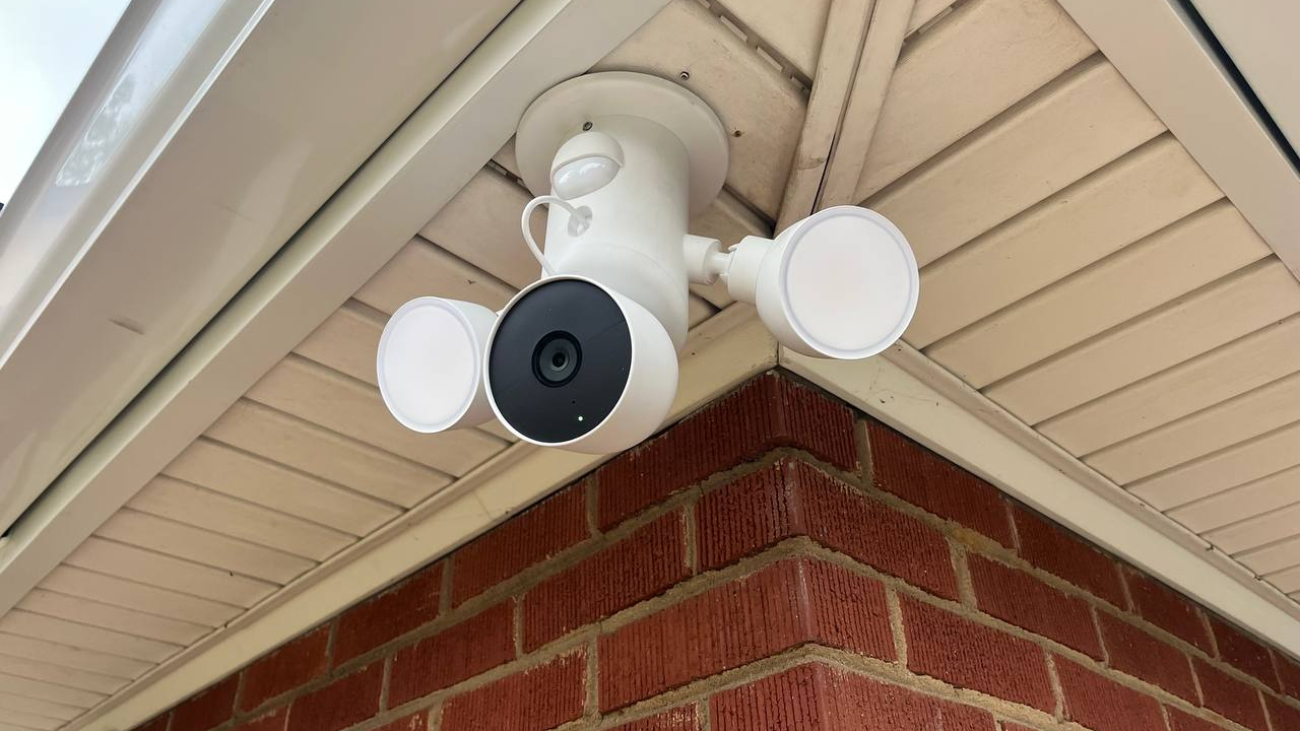
Let’s start with something many people overlook: Google’s floodlight cameras are designed to be mounted on a wall — not a ceiling. If you look closely at the box or product description, it’ll usually say “wall mount only.” That’s not a suggestion — it’s a design decision. Mounting it on the ceiling or in a custom angle (like in some corner spots) is possible, but it takes a bit of planning and know-how.

We recently had a client who wanted to mount their camera in a higher, less reachable spot — great idea in terms of safety! But we had to make sure there was enough clearance from the wall, otherwise the floodlight arms wouldn’t be able to rotate properly. Also, when mounted in an upside-down or sideways position, you need to flip the image in the app settings, since the built-in magnet won’t rotate the way you might expect. Google uses a very short cable, and that limits how much you can twist or adjust without running into issues.

And then there’s the security concern. These cameras are attached by a magnetic base, which makes for easy installation — but also easier removal by someone with bad intentions. Unfortunately, we’ve seen situations where cameras were stolen simply because the installer didn’t use the included anti-theft screw or left out some of the bolts altogether. That’s why we always make sure every bolt, including the theft-resistant one, is properly fastened. It might take a few extra minutes, but it’s worth it.

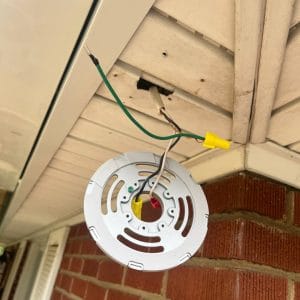
Safety always comes first. This is electrical work — you’re dealing with wiring, mounting heavy hardware, and possibly working on ladders. Don’t risk injury or faulty wiring just to save a few bucks. Our licensed techs can handle it quickly, cleanly, and up to code.

At Busy Beaver, we’re proud to serve the Charlotte area with reliable, skilled service — whether you need help installing a Google Nest Floodlight, running new wiring, or handling a wide range of handyman services. We show up on time, respect your home, and make sure the job is done right.

So if you’re searching for camera install, outdoor video surveillance, or just a handyman in Charlotte, NC, give us a call. Let’s get your home secured, properly.

Outdoor video surveillance, Security, Google Floodlight, Floodlight, Google Nest, Handyman Charlotte NC, Handyman in my area, Handyman Charlotte, Handyman rental, Handyman services, Charlotte handyman, Electrical repair Charlotte

photo_2025-04-10_11-19-42

The Importance of Proper Ceiling Fan Installation – And Why It’s Worth Calling a Pro

The Importance of Proper Ceiling Fan Installation – And Why It’s Worth Calling a Pro

As spring turns into summer in Charlotte, NC, the heat starts to creep in—and so does the electric bill. One of the smartest and most energy-efficient ways to stay cool without breaking the bank is installing a ceiling fan. But here’s the catch: it’s not just about buying the fan. It’s about installing it right. A poorly installed ceiling fan can lead to electrical issues, wobbling blades, or even safety hazards.

That’s where Busy Beaver Handyman Services steps in.

We get it—DIY projects are tempting. You watch a quick video, grab a ladder, and think, “How hard can it be?” But ceiling fan installation isn’t always that simple. In fact, it can get pretty complicated, especially in older homes or if you’re replacing a light fixture that wasn’t designed to support a fan. This is not just a mechanical issue—it’s also an electrical one. That means mistakes can lead to blown circuits, fires, or long-term damage to your home’s wiring.

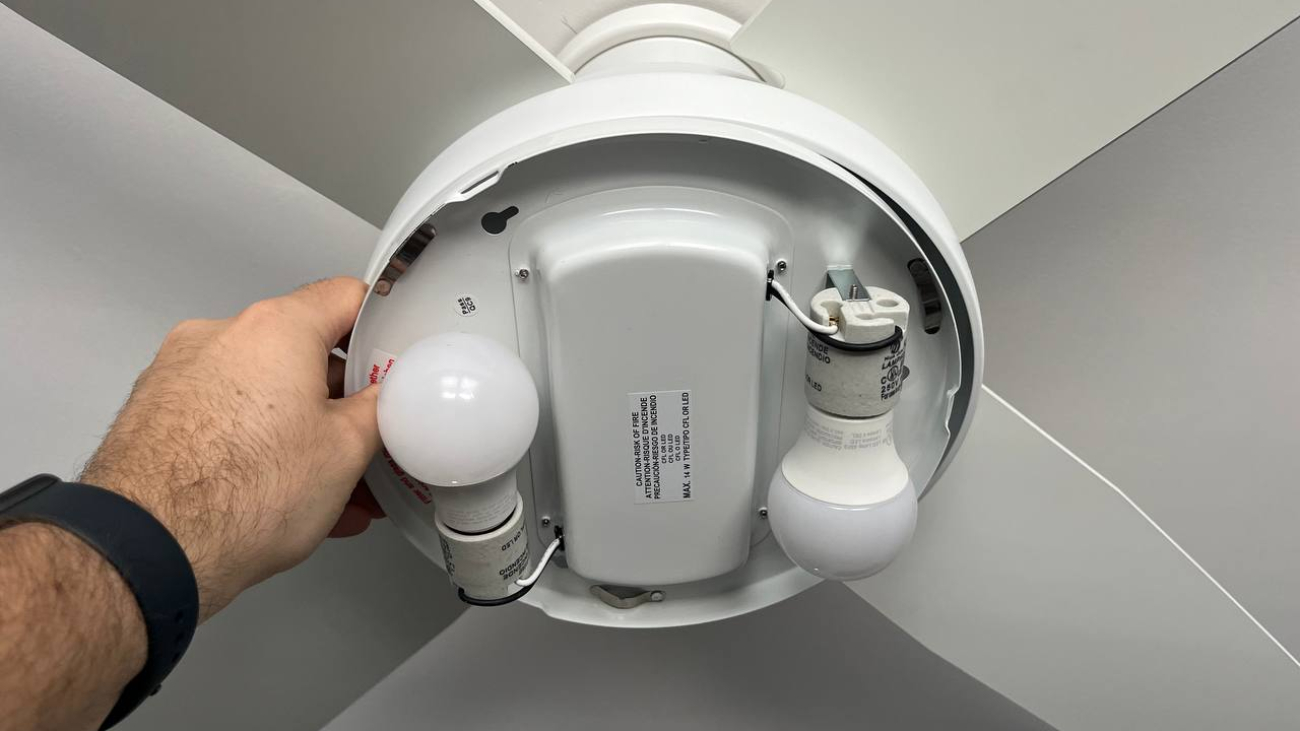
Professional ceiling fan installation ensures the job is done safely, securely, and up to code. Our team at Busy Beaver doesn’t just pop the fan into place and leave—we check the existing wiring, secure the mounting bracket properly, balance the blades, and make sure everything functions as it should. We also walk you through how to use your fan efficiently and how to reverse its direction in the winter to save on heating bills.

Another reason to go with a professional handyman? Time and peace of mind. Let’s be honest—after a long week of work or wrangling the kids, do you really want to spend your Saturday sweating over electrical wiring and ceiling brackets? Probably not. With Busy Beaver, you can relax knowing that a licensed, experienced technician is handling the job from start to finish.

Plus, our service goes beyond just ceiling fans. If you’re searching for a handyman in Charlotte, NC or typing “handyman in my area” into Google, you’ll find that we’re a one-stop-shop for all your home needs—whether it’s electrical repair, light fixture upgrades, drywall patching, or helping out with handy

man rental projects when you just need a skilled set of hands.

At Busy Beaver, we’re proud to serve our community with reliable, affordable, and top-notch service. We show up on time, clean up after ourselves, and treat your home like it’s our own. Your comfort and safety are our top priorities—and nothing beats walking into a room with a perfectly installed ceiling fan quietly spinning on a warm Carolina day.

So, if you’re thinking about upgrading your home’s airflow and comfort this season, give us a call. Let us take care of the hard part while you kick back and enjoy the breeze.

#ceilingfaninstallationcharlottenc #handymancharlottenc #handymaninmyarea #handymancharlotte #handymanrental #handymanservices #charlottehandyman #electricalrepaircharlotte

ceiling fan installation charlotte nc handyman charlotte nc handyman in my area handyman charlotte handyman rental handy man services charlotte handyman electrical repair charlotte