

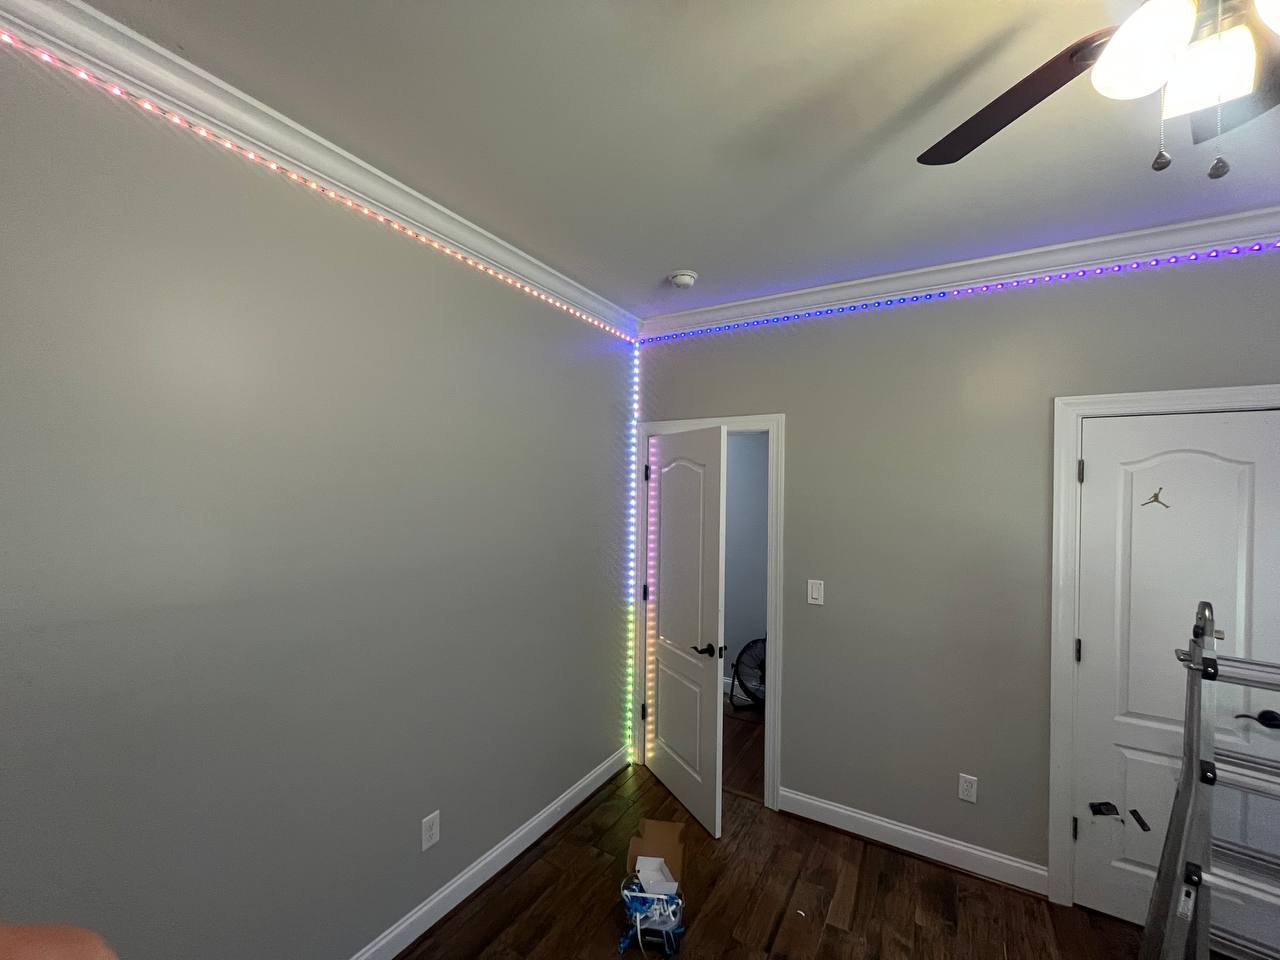
LED Light Installation Pitfalls: 6 Expensive Mistakes DIYers Regret
Thinking about putting in LED lights yourself? At first glance, it sounds easy enough. Buy a few bulbs, maybe follow a YouTube video, and boom—better lighting. But the truth is, LED light installation can trip people up in ways they didn’t expect. We’ve seen it happen here in Charlotte more times than we can count.
Whether you’re updating a house, apartment, or condo, one small slip can mean a blown circuit, damaged drywall, or a light that flickers nonstop. That “simple upgrade” can snowball fast. What looks like a quick project on Saturday morning turns into a return trip to the hardware store, followed by a lot of trial-and-error.
If you’re planning to DIY, do yourself a favor and read this list first. These are six LED lighting mistakes homeowners in Charlotte keep making—and what you can do to steer clear of them.
(Optional image: homeowner frustrated under poor lighting. ALT: “Common LED installation issues in Charlotte homes”)
Mistake #1: Choosing the Wrong LED Bulbs
We get it—LEDs are everywhere now. But that doesn’t mean any bulb will work in any space. Lighting that’s too warm or too cool can totally change the feel of a room. And don’t even get us started on outdoor lights being used indoors (or vice versa).
- The color temperature feels off—either sterile like a hospital or weirdly yellow
- The bulb flickers or burns out early because it’s not made for your fixture
- Outdoor lights fail fast when used inside or aren’t weatherproof enough to go outside
Real-world tip: Think of color temperature in zones:
- Warm white (2700K–3000K) = bedrooms and living rooms
- Cool white (3500K–4100K) = kitchens and bathrooms
- Daylight (5000K–6500K) = garages, home offices, and workshops
Mistake #2: Overloading the Electrical System
LEDs draw less power than old-school bulbs, but they still rely on the system you’ve got in place. Many older homes in Charlotte weren’t wired with today’s lighting setups in mind. Overloading your circuits—or making the wrong connection during an LED light installation—can lead to trouble.
- Using outdated dimmers that aren’t made for LEDs
- Putting too many fixtures on the same switch or breaker
- Mixing voltages without the right transformer or converter
What to do instead: Before you install, check the total wattage on your circuit. If you’re unsure, you’re not alone—most people don’t know how to calculate it. That’s where Busy Beaver Handyman Services can help. We’ll evaluate your setup and make sure you’re not setting yourself up for a bigger repair job down the road.
Mistake #3: Jumping Into Wiring Without a Plan
We’ve walked into plenty of homes where DIY LED light installation projects went sideways. Tangled wires. Switches that don’t do anything. Lights that randomly buzz or flicker. Most of it comes from not having a wiring game plan—or worse, guessing.
- Hot and neutral wires reversed (reverse polarity = real danger)
- Loose connections that create sparks or cause lights to cut out
- Missing ground wires that compromise safety
What works: Sketch your layout. Label your wires. Use connectors rated for the job. If you’re installing multiple lights, know exactly where your junction boxes are and how they connect. Planning saves time and stress.
LED Light Installation Tip: Don’t Ignore Placement
Even if you pick the perfect bulb, it won’t do much good if it’s in the wrong place. We’ve seen kitchens where the counter is in shadow, and living rooms where glare hits you right in the eyes when you sit down.
- Shadows in work areas like sinks or islands
- Lights too close to walls, creating harsh bounce-back
- Uneven lighting in larger, open-concept rooms
What we recommend: Think about how you use your space—not just where the light looks nice on the ceiling. Sketch out your room and place fixtures where you need illumination, not just decoration. Or better yet, let Busy Beaver help with layout planning so you’re not second-guessing after holes are drilled.
Mistake #5: Using the Wrong Dimmer or Switch
Not all switches play nice with LEDs. We’ve had customers spend hours trying to troubleshoot flickering bulbs, only to realize the problem was the dimmer the whole time.
- Pairing LED bulbs with old rotary dimmers
- Installing smart lights without checking app/switch compatibility
- Not labeling switches in three-way setups (and then forgetting which does what)
The easy fix: Buy dimmers that are specifically designed for LED lighting. Reputable brands often list which bulbs their products support. Want to make sure everything’s compatible and future-proof? Let Busy Beaver Handyman Services handle it start to finish.
Mistake #6: Underestimating the True Cost of LED Light Installation
A lot of folks think LED upgrades are cheap—and in theory, they are. But the hidden costs sneak up: new tools, patching drywall, replacing switches you didn’t know were incompatible. And then there’s the time spent trying to get it all right.
- Buying tools they didn’t realize they’d need (wire strippers, testers, special screwdrivers)
- Patching holes made during installation
- Replacing transformer boxes or incompatible controls
Bottom line: It’s not always “plug and play.” Doing the job right sometimes means paying for expert help. And honestly, that usually ends up being cheaper than calling someone in after things go wrong.
Why It Pays to Bring in a Pro
Sure, DIY feels satisfying—when it goes right. But LED light installation is one of those things that’s easy to mess up and hard to fix after the fact. That’s why more homeowners across Charlotte are calling us in before the problems start.
Here’s what you get when you work with Busy Beaver Handyman Services:
- Safe, up-to-code wiring
- Clean, damage-free installations
- A lighting setup that looks good and actually makes sense
- Help choosing the right bulbs, fixtures, and controls
We’ve helped hundreds of Charlotte homeowners upgrade to LED with zero stress. Message us on Facebook or grab a free quote anytime.
FAQ: LED Lighting & Installation Tips from Charlotte Pros
What’s the most common LED installation mistake you see?
Using the wrong dimmer or mixing up wiring. Those two alone cause 80% of the flickering issues we fix.
Why do my new LED lights flicker?
You might have loose wiring, or the dimmer might not be compatible. Either way, it’s fixable.
Can I install LED lights myself?
You can, but know your limits. If you’re not comfortable with wiring or unsure about what parts to buy, it’s safer to call a pro.
What’s the typical cost to upgrade to LED?
That depends on how many lights you’re adding and the condition of your current setup. DIY might look cheaper—but once you add in tool costs and patchwork, it can end up costing more.
Can a handyman install LEDs?
Absolutely. And in most cases, it’s faster, safer, and less expensive than a full electrician visit.
Final Word: Don’t Let a “Simple Upgrade” Turn Into a Weeklong Mess
Upgrading to LED lighting should feel like a win—not a hassle. But without the right bulbs, tools, or wiring know-how, even a basic LED light installation can go sideways fast. Take the guesswork out of your upgrade and let us help you do it right the first time.
Reach out to Busy Beaver Handyman Services or message us on Facebook. We’ll get your lighting done right—the first time.