

How to Paint Window Trim Like a Pro in Charlotte
Let’s be honest—most folks don’t wake up excited to paint window trim. It’s one of those jobs that seems small until you’re halfway through scraping old paint in the August heat, wondering why you didn’t just call someone. But here in Charlotte, where the weather swings from muggy to freezing and back again, keeping your window trim in shape isn’t just about looks—it’s about protecting your home.
I’ve worked on homes from NoDa to Ballantyne, and I can tell you: trim that’s cracked, peeling, or poorly sealed can lead to bigger problems down the road. Water damage, drafty rooms, even pest issues. So if you’re asking, “Can you paint window trim without replacing it?”—yes, you can. And you should. But you’ve got to do it right.
First Things First: What Are We Working With?
Before you grab a brush, take a walk around your house. Look at the trim up close. Is it wood, aluminum, or steel? Is the paint flaking off like old wallpaper? Are there gaps where the caulk used to be?
Here’s what I usually check:
- Soft spots in the wood (bad sign)
- Rust on metal trim (needs attention)
- Mold or mildew around the edges
- Old caulk that’s cracked or missing
If you’re in a condo near Uptown or a rental in South End, chances are you’ve got aluminum window trim. It’s durable, but it needs the right prep and paint to hold up. And if you’re in an older home in Plaza Midwood, you might be dealing with wood that’s seen better days.
Clean It Like You Mean It
I know—cleaning isn’t glamorous. But if you skip this step, your paint job won’t last. Grab a bucket, some mild soap, and a stiff brush. Scrub off dirt, pollen, and whatever else Charlotte’s air has thrown at your windows.
For aluminum trim, I wipe it down with denatured alcohol after cleaning. It gets rid of any oils or residue that might mess with the paint adhesion.
Scrape, Sand, and Strip (If Needed)
If the old paint is peeling, you’ve got to get it off. No shortcuts here. Use a scraper or wire brush for loose paint. If you’re dealing with steel trim, be careful—paint removal from steel can be tricky. I’ve used chemical removers before, but only the ones rated for metal. Always wear gloves and eye protection.
Once it’s scraped, sand it smooth. You don’t need perfection, but you do need a surface the new paint can grab onto.
Caulking: The Step Everyone Skips (But Shouldn’t)
Before you paint, seal the gaps. I use acrylic latex caulk that’s labeled “paintable” and made for exterior use. Don’t use silicone—it repels paint and leaves you with a mess.
Here’s my quick method:
- Apply a steady bead along the gaps
- Smooth it with a damp finger or caulk tool
- Let it cure fully before painting
If you’re not sure which caulk to buy, shoot me a message. I’ve tested a bunch and can point you to the best paintable exterior caulking for Charlotte’s climate.
Primer: Don’t Skip It
If you’re painting bare wood or metal, primer is non-negotiable. For aluminum window trim, I use a rust-inhibiting primer. It helps the paint stick and keeps corrosion at bay.
Let it dry completely before you move on. Trust me—rushing this step leads to regrets.
Paint Like You Mean It
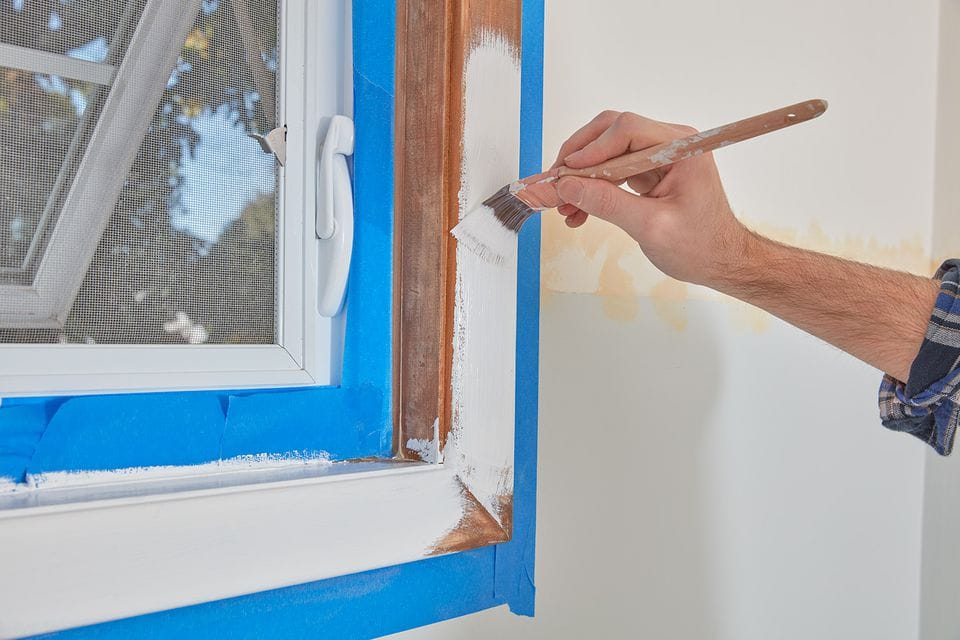
Now for the fun part. I use a 2” angled brush for clean lines. Start at the top and work your way down. Long, smooth strokes. Don’t overload the brush.
Here’s what works best in Charlotte:
- Exterior-grade acrylic latex paint
- Satin or semi-gloss finish (easy to clean)
- UV-resistant formulas for sunny spots
- Mildew-resistant additives for shaded areas
If you’re painting outside window trim in direct sun, wait until late afternoon. Otherwise, the paint can blister before it dries.
Real Talk: Mistakes I’ve Fixed Over the Years
I’ve seen it all. Here are the top five mistakes homeowners make:
- Skipping primer on aluminum trim
- Painting in direct sunlight
- Using interior caulk outside
- Not removing old caulk before reapplying
- Rushing the drying time between coats
If you want to avoid these, reach out for a free consultation. I’ll walk you through it or take the job off your plate.
Local Tips from a Charlotte Handyman
Every neighborhood has its quirks. In Dilworth, I’ve seen trim that needs mildew-resistant paint because of all the shade. In Ballantyne, the sun beats down hard—UV protection is key. And in older homes near Wesley Heights, matching the original trim color can be a challenge (but it’s doable).
Want more local advice? Check out our guide on screen door installation—it pairs perfectly with fresh trim work.
FAQ: Painting Window Trim in Charlotte
Can you paint window trim without removing it?
Yes, as long as the trim is solid. Prep it right and you’re good to go.
What’s the best paint for aluminum window trim?
Exterior acrylic latex with a rust-inhibiting primer underneath.
How do I remove paint from steel window trim?
Use a wire brush or chemical remover rated for metal. Safety gear is a must.
What’s the best paintable exterior caulking?
Acrylic latex labeled “paintable” and “exterior use.” Skip the silicone.
How long does it take to paint window trim?
Most jobs take 1–2 days depending on prep and number of windows.
Final Thoughts: Let’s Make It Look Sharp
Painting window trim isn’t glamorous, but it makes a big difference. It protects your home, boosts curb appeal, and shows you care. Whether you’re doing it yourself or want a pro to handle it, Busy Beaver Handyman Services is here to help.
📞 Ready to get started? Contact us or message us on Facebook. We’ll treat your home like it’s our own
Add a Comment